
Building a gaming PC may seem complex at first, but it is more manageable than most people expect. Many beginners worry about choosing the right parts or putting everything together correctly. The good news is that with a clear plan and basic guidance, you can build a system that fits your needs and performs well. By understanding each component and following a step-by-step approach, you can create a gaming PC that is both reliable and easy to upgrade over time.
Choose The Right Components For Your Build
The first step is selecting the parts that will go into your PC. The main components include the processor (CPU), graphics card (GPU), motherboard, memory (RAM), storage, power supply, and case. Each part plays a specific role, so it is important to choose components that work well together.
Start by deciding what you want your PC to do. If you plan to play modern games, the GPU is especially important. The CPU supports overall performance, while RAM helps with multitasking. Storage options include solid-state drives (SSD) for faster load times and traditional hard drives for extra space. Make sure your motherboard is compatible with your CPU and other parts before purchasing.
Prepare Your Workspace And Tools
Before you begin building, set up a clean and organized workspace. A large table with good lighting will make it easier to handle small parts and avoid mistakes. Keep all components in their packaging until you are ready to use them.
You will need a basic screwdriver and possibly a small container to hold screws. It is also helpful to touch a metal surface before handling components to reduce static electricity. Taking a few minutes to prepare your space can make the entire process smoother and less stressful.
Install The CPU, RAM, And Storage
It is easiest to install some components onto the motherboard before placing it inside the case. Start with the CPU by carefully placing it into the socket and securing it according to the instructions. This step requires attention, but it is straightforward if you follow the alignment markers.
Next, install the RAM by pressing it into the memory slots until it clicks into place. Then add your storage device, such as an SSD, into its slot or mount. Completing these steps early gives you more room to work and reduces the chance of errors later in the build.
Mount The Motherboard And Power Supply
Once your main components are attached, place the motherboard into the case and secure it with screws. Make sure it lines up with the case standoffs to avoid damage. Take your time with this step to ensure everything is properly aligned.
After that, install the power supply. Position it in the designated area of the case and secure it. The power supply connects to all your components, so having it in place early helps with cable management. Keeping cables organized will improve airflow and make your build look cleaner.
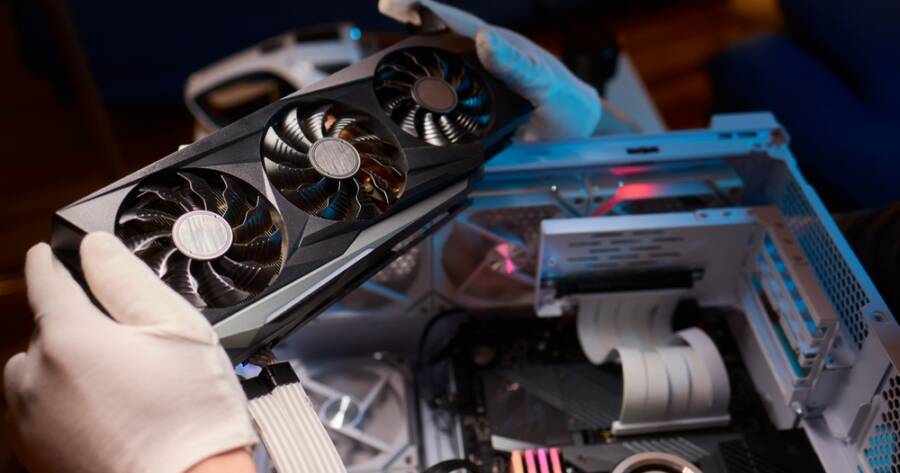
Install The Graphics Card And Connect Cables
The graphics card is one of the most important parts of a gaming PC. Insert it into the appropriate slot on the motherboard and secure it with screws. Make sure it is firmly in place before moving on.
Next, connect all the necessary cables from the power supply to the motherboard, GPU, and storage devices. This step may take some time, but following the labels and instructions makes it easier. Proper connections are essential for your system to work correctly.
Test Your System And Install Software
Before closing the case, it is a good idea to test your build. Connect your monitor, keyboard, and power, then turn on the system. If everything is connected correctly, the PC should start and display a setup screen.
Once the system powers on, install your operating system and drivers. This allows your hardware to function properly and prepares your PC for gaming. Updating your drivers ensures better performance and stability.
Maintain And Upgrade Your PC Over Time
One of the benefits of building your own PC is the ability to upgrade it later. As your needs change, you can replace or add components without starting from scratch. Keeping your system clean and free of dust also helps maintain performance.
Regular updates and maintenance will keep your PC running smoothly. Over time, you may choose to upgrade your GPU, add more storage, or increase RAM. Building your PC gives you full control over how it evolves.
Build With Confidence And Learn As You Go
Building a gaming PC for the first time may feel challenging, but it becomes much easier once you understand the process. By choosing the right components, preparing your workspace, and following each step carefully, you can create a system that meets your needs.
The experience also helps you learn more about how your computer works. With patience and attention to detail, you can build a reliable gaming PC and gain the confidence to upgrade or improve it in the future.